

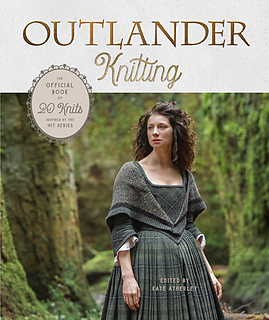
 Outlander Knitting: The Official Book of 20 Knits Inspired by the Hit Series


Jamie's Waistcoat
I wanted to make a knit version of the waistcoats that are worn by the men throughout the series. In order to make something a little special for our Jamie, I chose to dress up the garment with an embellished trim that was inspired by the embroidery on Laird Colum MacKenzie’s greatcoat as worn in The Gathering and other episodes. The waistcoat is worked in pieces in Stockinette stitch from the bottom up and seamed, then armholes are picked up and worked in the round. To work the elegant trim and buttonbands, stitches are picked up around the remaining edges, and are then worked in the round with mitred corners and a slipstitch pattern resembling a raised surface embroidery.
SKILLS REQUIRED
-Knit, purl, slipping stitches, cast on and cast off
-Increasing and decreasing
-Working in the round with circular needles
-Cable cast on
-Picking up stitches
-Seaming
MATERIALS
Yarn
Trendsetter Yarns New York (100% pure organic wool; 190yds/173m per #1.75z/50g skein); 5 (6, 7, 7, 8) skeins
Sample uses color SM013/Brown Melange
Needles
3.5mm/US 4 needles for working flat – straight or circular needles as you prefer
For armholes:
3mm/US 2.5 16-inch/40cm circular needle
For Trim and Buttonband:
3.5mm/US 4 60-inch/152cm circular needle
Or size needed to get correct gauge
Notions
-8 locking stitch markers
-1 stitch marker for indicating start of round for armholes and trim
-Yarn needle
-10 (11, 11, 11, 11) ¾ inch/20mm buttons
-Matching thread and sewing needle for sewing buttons
GAUGE
23.5 sts/36 rows = 4 inches square in stockinette stitch using 3.5mm/US 4 needles
26.5 sts/52 rounds = 4 inches square in trim pattern worked in the round using 3.5mm/US 4 needles
Finished Chest Circumference of Garment, worn buttoned: 36.25 (40.25, 44.5, 48.5, 52.5) inches/92 (102, 113, 123, 133.5) cm
Errata Note:
The instructions for shaping the armholes for Right and Left Fronts are under the wrong headings.
To work the Right Front, use the “shape armhole” instructions from the Left Front section (decreases start on the WS row for armhole), then use the “shape neckline” instructions from under the Right Front section (decreases starting on RS row for neckline).
To work the Left Front, use the “shape armhole” instructions from the Right Front section (decreases start on the RS row for armhole), and the “shape neckline” instructions from the Left Front section (decreases start on the WS row for armhole).
351 projects
stashed 531 times


