patterns >  Counting Crafty Sheep and 1 more...
> The Mia Ottoman


The Mia Ottoman
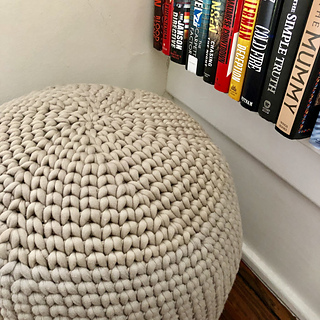
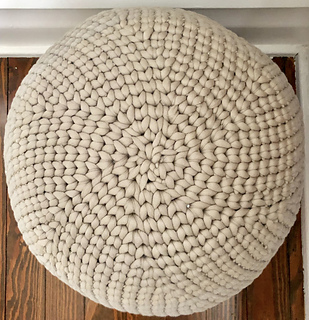
The Mia Ottoman is great for reading your favorite book, kicking up your feet after a long day, or adding that sophisticated handmade pop to your home décor. If you would like a wider ottoman, you will want to add an additional set of increase rounds for each additional inch across the diameter.
For a higher ottoman, simply add additional round without increases as you work up. Remember, you will change the amount of yarn required when you add or subtract rounds as well as the amount of stuffing.
The waistcoat stitch will keep the fabric of the ottoman nice and tight, so even when you stuff and start adding additional width and height, you shouldn’t be able to see the stuffing through the stitches but instead have a nicely rounded finished piece. That said, this stitch can be hard on the wrists and shoulders, so be sure to take breaks!
I used a combination of shredded foam, PolyFil, and a pillow form to fill my ottoman. I started with a bag of foam, then the pillow, then I filled in and shaped the area beneath the pillow with foam, added more foam on top, and kept filling in with foam and fluff as I decreased until I had the shape I wanted. This gives the ottoman a nice firm squish.
The pattern calls for 6 balls of Bernat Maker Big (CYC 7), but two strands of CYC 5 yarn held double would also work. This will double the required yardage.
Photos illustrating some basic techniques are included, as well as suggestions on resources for more complicated ones.
120 projects
stashed
169 times
- First published: May 2019
- Page created: May 24, 2019
- Last updated: December 27, 2025 …
- visits in the last 24 hours
- visitors right now


