

 Lalura Design
 Pattern

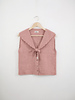
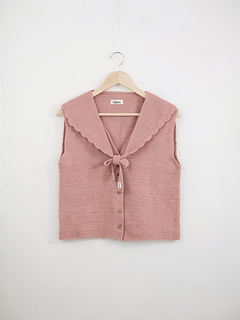
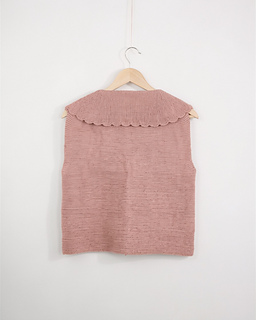
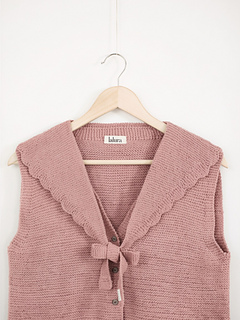
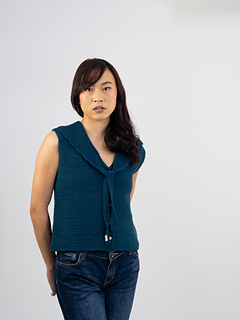
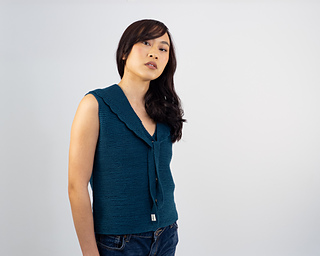
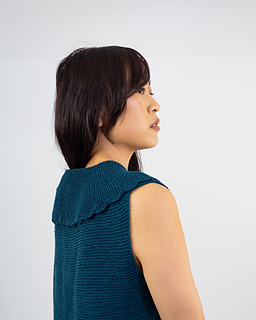
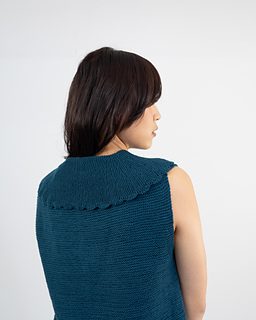
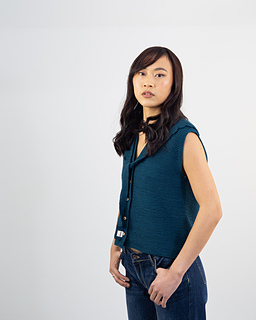
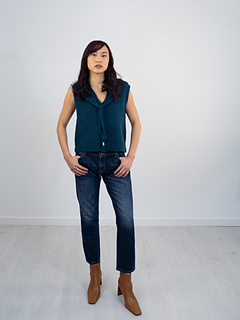
Xulian & Xuliana
Puedes hacerte con el kit de este diseño en :
https://laluradesign.com/
NOCIONES PREVIAS
Para tejer este chaleco es necesario saber montar puntos de forma provisional, tejer punto del derecho, cerrar puntos, realizar aumentos al aire (los que normalmente se utilizan para las sisas), remontar puntos y tejer en plano.
CONSTRUCCIÓN
Este chaleco se construye de arriba a abajo sin ninguna costura. Se comienza tejiendo por el cuello con un montaje provisional, se continúa con el trasero (la espalda), dejando los puntos en espera cuando alcanzamos una longitud suficiente para las sisas, a continuación se retoma el montaje provisional para tejer la parte del cuello de la tapeta de botones, para después levantar puntos en los hombros, retomar estos puntos y tejer los delanteros, por separado, pero pueden hacerse simultáneamente, dependerá de la tejedora. Una vez alcanzada la longitud necesaria hasta las sisas, se unen las 2 piezas del delantero y el trasero, y se continúa tejiendo el chaleco hasta en borde inferior.
TALLAS
1 (2, 3, 4, 5, 6).
Contorno de pecho de la prenda: 90 (101, 113, 123, 131, 142) cm 35.5 (39.75, 45.5, 48.5, 51.5, 56)”.
Altura desde la sisa: 30 cm 11.75”.
MUESTRA
23 puntos y 44 vueltas para una muestra de 10 x 10 cm 4 x 4” en punto derecho, sin bloquear.
HILO
El incluido en este kit.
AGUJAS
Agujas circulares de 3.25 mm US 3 con cable de 40 cm 16” para las sisas y más largo para el cuerpo, o las necesarias para obtener la muestra de tensión (sin bloquear). Agujas de doble punta para tejer la tira de la botonadura en el cuello; aunque se pueden usar circulares, es más cómodo con las agujas de doble punta.
OTROS ACCESORIOS
Guardapuntos o cables para dejar puntos en espera. Aguja lanera para rematar las hebras.
******************************************************
You can get the kit diy of this design in:
https://laluradesign.com/
SKILLS
To knit this vest you need to know how to cast on with a provisional method, to knit, to make increases with the “make one away” technique (the one most commonly used to cast on stitches at the underarm, also known as the backwards loop method), to pick up stitches, and to bind off stitches.
CONSTRUCTION
This vest is knit seamlessly top-down. It is started to knit at the neckline, with a provisional cast-on, continuing with the back, leaving the stitches on hold when the armhole depth has been reached. Then, the stitches from the provisional cast-on are recovered to work the attached button band at the neckline. Stitches are picked up at the shoulders to work the fronts (which can be worked separately or at the same time, with two working yarns, depending on the preference of the knitter). Once the armhole depth has been reached at the fronts, both fronts are joined to the back and the vest is continued to knit flat until the bottom edge.
SIZES
1 (2, 3, 4, 5, 6).
Bust circumference of the finished garment: 90 (101, 113, 123, 131, 142) cm 35.5 (39.75, 45.5, 48.5, 51.5, 56)”.
Total height from underarm: 30 cm 11.75”.
GAUGE
23 stitches and 44 rows in 10 x 10 cm 4 x 4” in garter stitch, without blocking.
YARN
Use the yarn included in the kit.
NEEDLES
3.25 mm US 3 circular needles, with a cable length of 40 cm 16” for the neckline and a longer cable for the body, or the required needle size to obtain gauge. Double pointed needles to work the button band at the neckline, although circular needles can be used, it will be more comfortable with an auxiliary double pointed needle.
OTHER NOTIONS
Stitch holders or auxiliary cables to place stitches on hold. Tapestry needle to weave in ends.